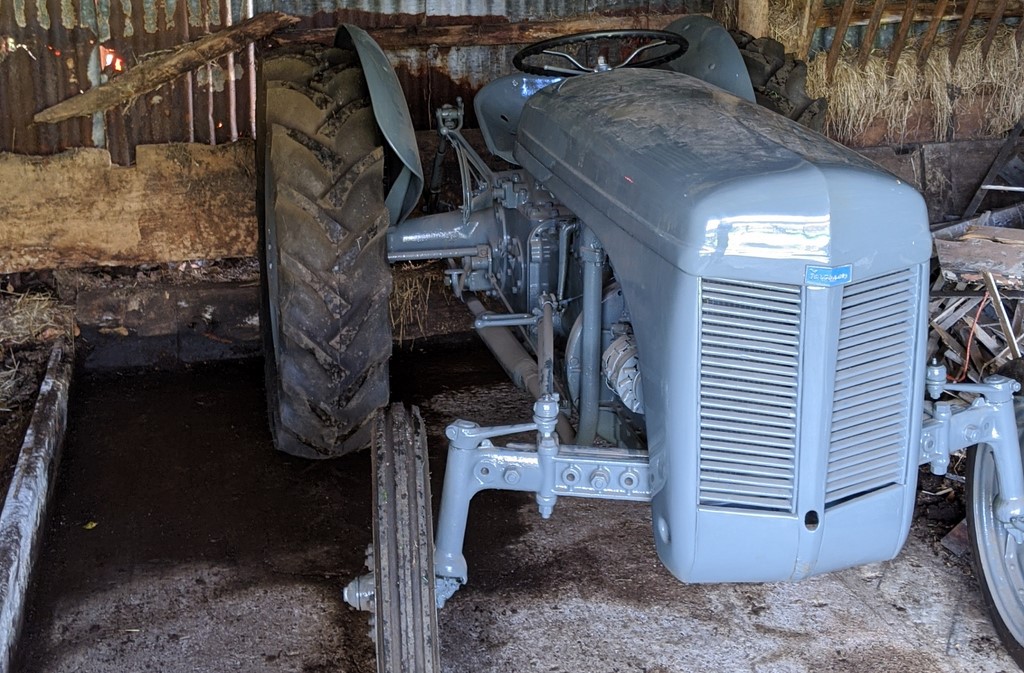
With the Fergie now moved to a more accessible location, it was time to breathe life back into it. The only part of the extensive restoration still requiring attention on the Fergie was the electrical system and wiring. Picking up where someone unknown had previously been was going to be tricky but was it impossible?
Standard Fergie Electrical System
As standard, the Fergie wiring system is a 6V with a positive chassis. That means that rather than the standard 12v automotive components, the tractor uses a 6v battery and components. This was quite common in the 1950s. It doesn’t cause a big problem as all the parts are still available.
What is perhaps more of a problem is the use of a dynamo to charge the battery. Unlike an alternator, a dynamo does not need ‘exciting’ or to be powered. As soon as it turns, it starts to generate electricity. This must then be ‘rectified’ to give a constant power with which to charge the battery. At some point during the restoration, the Fergie had a 12v alternator installed, which means the electrical system needs conversion.
Moving to a 12v system
Fortunately, both a 12v alternator and ignition coil have been installed. This forces the use of a negative ground system, a simple case of swapping the battery terminals over. Actually, I replaced the cable from the battery to the solenoid/chassis and installed appropriate battery terminals. It’s a decision that takes the Fergie a little away from its original design, but with the intention of making it far more reliable.
The original 6v starter motor remains at the advice of the internet, or more specifically, the knowledgeable chaps on the FoMF website. The general agreement there is that while 12v is double what the motor needs, it will simply spin faster and start easier. I suspect in the long run it will lead to premature failure, but again a replacement 12v starter motor is readily available. And it’s always got the manual crank start!
Start solenoid problems
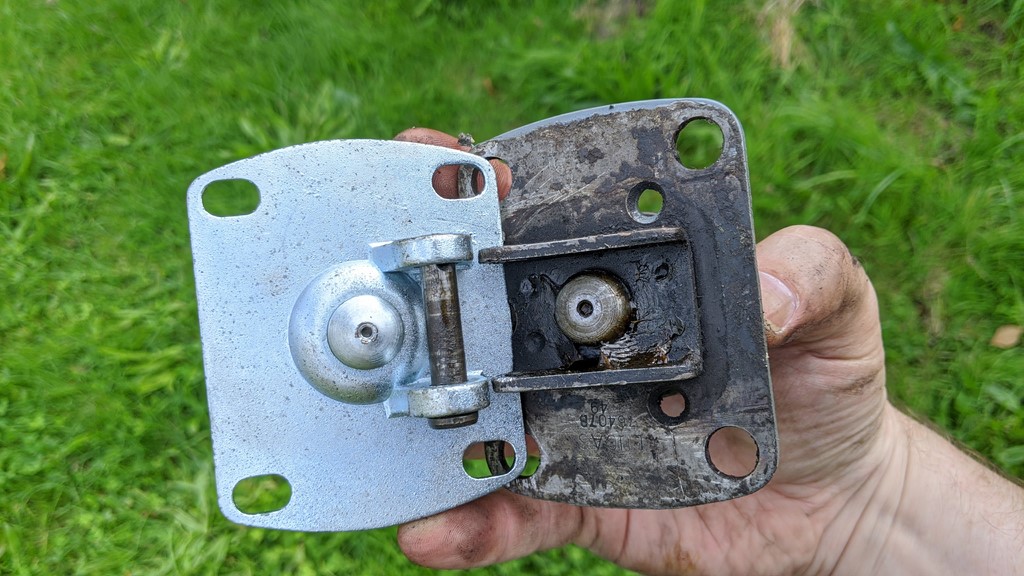
This age of Ferguson uses a position on the gear lever travel to push a solenoid and make the connection between starter and battery. Unfortunately, the starter solenoid on this tractor hasn’t been operated for an awfully long time and is frozen solid. No amount of penetrating oil or gentle persuasion could unfreeze the ‘original’ solenoid. Instead, a replacement was purchased from AgriParts.

The new starter solenoid arrived and was clearly a very different design. And it didn’t fit! Like any true farmer, rather than try to find the right part, I broke out the cordless grinder! After 30+ minutes, the ‘new’ starter solenoid was far more representative of the original, and I had a burnt finger! Man, that metal gets hot when being finessed.
Wiring in the 12v alternator
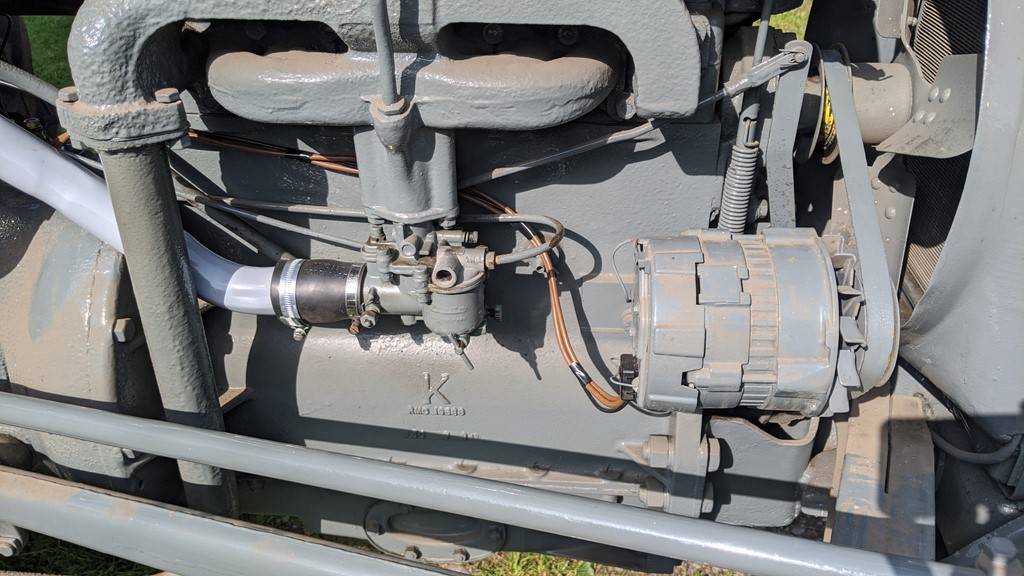
The alternator was completely painted over during the respray, including the part numbers. No one could remember what type of alternator it was, but I remembered a trick someone taught me long ago. The back of the alternator is a plastic cover. Taking it off reveals a number in the plastic on the non painted side. You can then look this up in a parts catalogue, typically at an old school motor factor. These days I can just Google the number.

The number was linked to a 50amp 12v LUCAS A115 series alternator. From this, I was able to order the correct connector and terminals from WoodAuto. I highly recommend WoodAuto. If you have a small 12v automotive motor (starter, alternator etc.), they can source the parts to repair it. Bearings, bushes, plastic housings, if it can be bought, they will have it!
At some point in the past, someone had started laying wires on the tractor for a rewire. It was immediately obvious to me that the single 2mm wire would be a little thin for 50A. It was also purple, not exactly in keeping with the tractor! I’ve put some 3mm low thread count wire in, more than enough for the 50A, but I’ve also run two of them. Being plain brown, they suit the vehicle a little better too.
Wiring up the Fergie Ignition System
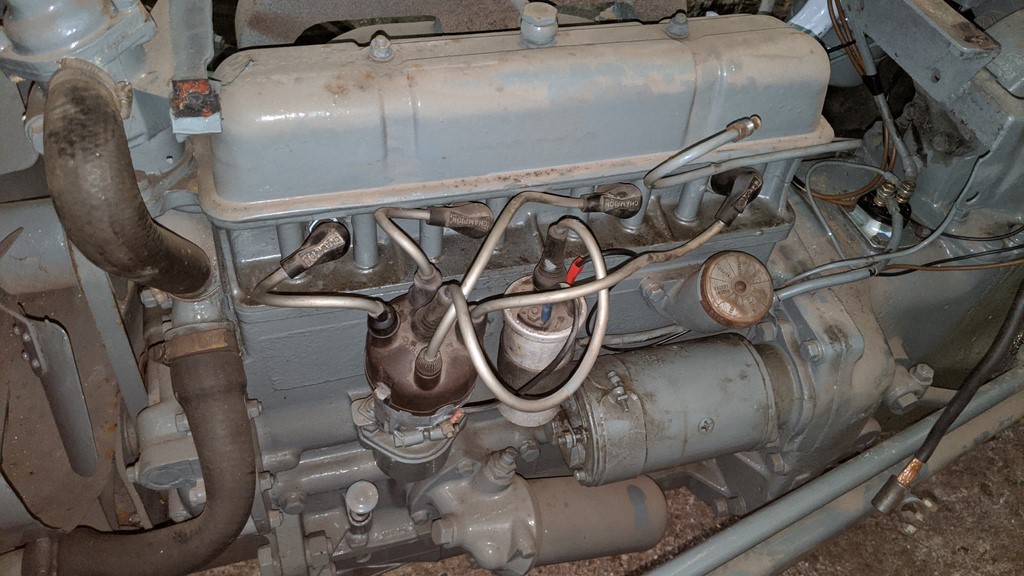
For the high voltage side of the ignition, there are no changes needed when moving from 6v to 12v. The driver for the ignition circuit is the coil, which had already been changed to a 12v type. All that was required here was to change the polarity. For some reason, I left the existing wire between the distributor and coil, but that blue plug drove me crazy and was soon changed to something more appropriate.

The coil is supplied through the ignition key switch. It’s actually the only way to turn the tractor off. This was wired through the switch, but we later found the switch was faulty and permanently closed, meaning the ignition could not be turned off. That was a bit exciting! Stall to stop is always fun
First crank
With the wiring system on the Fergie restored, it was time to try cranking. We had already rocked the tractor in gear, so we’re confident that it wasn’t seized. The coolant was fresh, full of anti-gel and topped up. Oil was at the right level in all the right places.
Using the gear lever to start an engine is both weird and a bit of an art. The first strike of the solenoid switch and the starter burst into life, spinning the engine over with it. Well, spinning the cooling vanes, at least. A very good sign. The 6v starter motor did smoke quite a lot, but it looks like oil has run into the housing at some point. I’m not entirely sure if the smoke is the brushes melting or the oil burning off. Time will tell!
Will it run first time on 12v?
The fuel sediment separator bowl and carb bowl were primed, and a bit of easy start was applied to the intake to see if it would run under its own steam. Despite its best efforts, the engine simply wouldn’t catch. On the assumption it was getting sufficient fuel, we set about investigating the ignition.

A timing strobe with a clamp pick up confirmed HT was being generated. A look at the plug located in cylinder 1 showed it was old, a little dirty and probably gapped right. With the plug out of the chamber and the body earthed to the batter, it was clear the spark was very weak. The Fergie was put back in the shed for asleep.
Next time
The ignition consumables are going to need a bit of looking at. Until this is resolved, we’re not going to get enough spark to fire this Fergie into life. The fuel tank also needs looking at. Tapping on it suggests lots of loose debris inside, and looking in, it’s more than likely rust. Apparently, it holds fuel so hopefully just needs a cleanout. Maybe next weekend we will get it serviced and running?
M
PREV – Little Grey Fergie
NEXT – Fergie Ignition and Fuel Tank Overhaul
Back to Little Grey Fergie Articles
Back to Automotive Articles
